How to Read a Rotary Actuator Symbol?
Learning how to read a Rotary Actuator Symbol helps engineers understand motion before equipment reaches the workshop. A small circle, arrow, or port marking can describe rotation, direction, and control logic. Yet these symbols are not always identical across manufacturers. Their meaning depends on the drawing standard, actuator type, and schematic legend.
In practical drawing reviews, technicians often begin with the arrow. It may show clockwise rotation, counterclockwise rotation, or reversible movement. Port labels can indicate pneumatic or hydraulic connections. Flow lines may reveal how pressure creates torque. Electrical symbols can show solenoids, sensors, or feedback devices. Look closely. A missing arrowhead can change the interpretation.
This guide explains the visual details behind common actuator diagrams. It connects symbol shapes with real components, including vane actuators, rack-and-pinion units, and rotary electric actuators. You will also learn how to check torque direction, operating ports, spring return functions, and control signals. The process is practical, but not flawless. Some drawings simplify important details, while others use symbols that follow company conventions rather than common standards. That is why experienced readers compare the symbol with the legend, product datasheet, and application requirements. Never rely on appearance alone. A correct reading should match the actuator’s actual movement, pressure path, and control method.
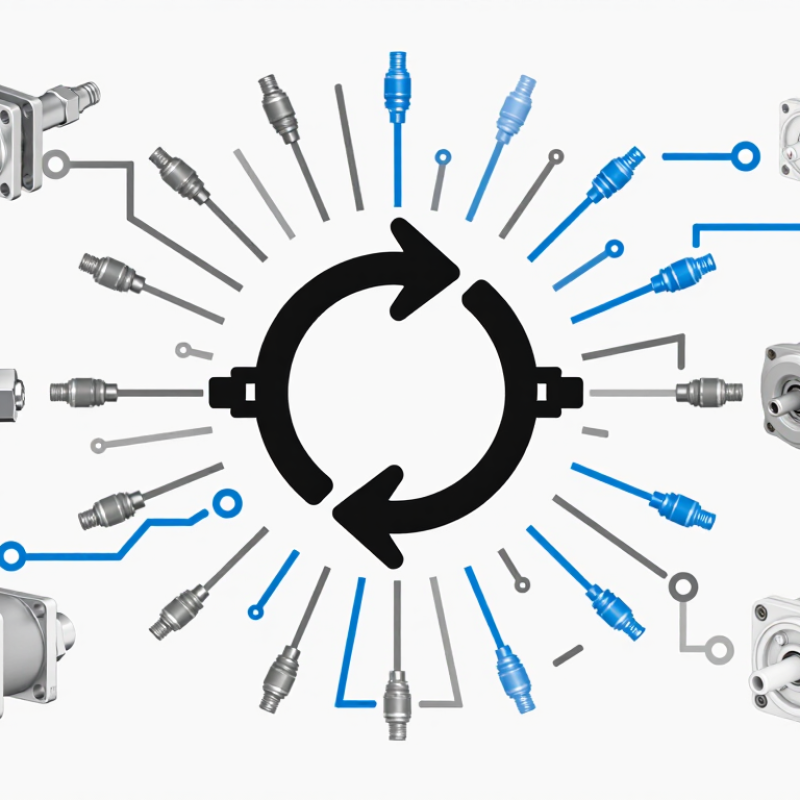
Identify the Rotary Actuator Symbol Under ISO 1219-1
How to Read a Rotary Actuator Symbol?
Identify the Rotary Actuator Symbol Under ISO 1219-1
ISO 1219-1 provides a visual language for fluid power diagrams. To identify a rotary actuator, look for a circular body, an output shaft, and an indication of rotational movement. The circular shape separates it from a linear cylinder, which normally uses a rectangular barrel and piston rod. A curved arrow may show the shaft’s direction of rotation.
For hydraulic or pneumatic rotary motors, triangles inside the circle show energy conversion. Inward-pointing triangles usually indicate that fluid power drives the actuator. One triangle can indicate one rotational direction. Two opposing triangles usually represent reversible rotation. Port lines connect the symbol to valves, regulators, or other circuit elements.
Details matter.
A quarter-turn actuator may include additional marks that define limited angular movement. Do not estimate torque, speed, or rotation angle from the basic symbol alone. Those values belong to nearby specifications or notes. I have seen diagrams where a small arrow is mistaken for flow direction. That is a reasonable mistake, but flow arrows and motion arrows serve different purposes. Check the connected valve, port labels, and any angle or control annotations before interpreting the complete circuit.
Interpret Single- and Double-Acting Actuator Symbols
Reading a rotary actuator symbol becomes easier when you separate motion, ports, and the return method. Most diagrams use a circular actuator shape with a curved arrow showing rotation. The arrow may indicate clockwise or counterclockwise movement, but not always the shaft’s actual viewing direction. Check the drawing legend. ISO 1219 conventions help, yet equipment drawings can add local symbols.
A single-acting symbol usually shows one fluid connection and a spring beside the actuator. Air or hydraulic pressure turns the shaft in one direction. When pressure is removed, the spring returns it. That return action matters during a control failure. Look for the spring icon. In a workshop, I trace the supply line with a finger before selecting a replacement. This small habit prevents confusing spring return with external mechanical loading.
A double-acting symbol normally shows two working ports, one for each rotational direction. Pressure enters one port while the opposite side exhausts or returns fluid. Reverse the flow, and the shaft reverses. Some symbols show flow arrows, cushions, sensors, or adjustable stops. These details affect setup, not merely identification. I once read a simplified drawing too quickly and assumed both actuators had identical end positions. They did not. Confirm port labels, rotation angles, and fail position against the technical data.
Decode Torque, Mounting, and ISO 5211 Interface Data
How to Read a Rotary Actuator Symbol?
A rotary actuator symbol usually hides three practical questions: torque, mounting, and interface compatibility. Torque values may appear in N·m, often for opening, running, or closing conditions. Do not treat one number as universal. Valve breakaway torque can rise after storage, corrosion, or media buildup. I have seen selections fail because engineers compared only the actuator’s nominal torque.
ISO 5211:2017 defines standardized mounting interfaces for quarter-turn valves and actuators. Its F03, F04, F05, and larger designations identify flange dimensions, bolt patterns, and drive features. The symbol may show a square drive or keyed connection, but the drawing must confirm measurements. Check the bolt-circle diameter, flange diameter, drive height, and shaft shape. A near match is still a mismatch.
A 2024 Grand View Research analysis estimated the global industrial valves market at about USD 78.3 billion in 2023, with continued growth through 2030. That expansion increases the need for interchangeable interfaces, not careless assumptions. Another 2024 market assessment from MarketsandMarkets projected strong demand for automated valve systems across process industries. The figures vary, which deserves caution. Market reports use different definitions. Read the actuator symbol with the ISO 5211 datasheet beside it. Then compare required torque at the worst operating temperature, add the specified safety margin, and verify manual override clearance. Shortcuts look efficient. They are not always efficient.
How to Read a Rotary Actuator Symbol? Decode Torque, Mounting, and ISO 5211 Interface Data
The chart compares common ISO 5211 mounting patterns by nominal bolt-circle diameter. The F-number identifies the mechanical interface geometry; it does not define actuator torque. Torque is specified separately in N·m and should exceed the valve breakaway and running torque requirements with an appropriate safety margin.
ISO 5211 mounting data shown: F03, F05, F07, F10, F12, F14, F16, F25, F30, F35, F40, and F48 nominal flange patterns. Bolt-circle dimensions are shown in millimetres. Always confirm the applicable standard edition and actuator drawing before installation.
Distinguish Pneumatic, Hydraulic, and Electric Actuator Symbols
How to Read a Rotary Actuator Symbol?
Distinguish Pneumatic, Hydraulic, and Electric Actuator Symbols
A rotary actuator symbol usually shows a circular body and an arrow indicating rotation. The real clue is the energy source around it. Pneumatic and hydraulic symbols often use similar circular motor symbols, so the actuator alone may not identify the medium. Trace the connected lines. Pneumatic circuits usually include air preparation, directional valves, and narrow control lines. Hydraulic circuits often connect to a pump, reservoir, pressure-control valve, and return line. Their symbols can look surprisingly alike.
Look for the pressure medium.
Electric actuator symbols normally connect to wires, terminals, a motor symbol, or a controller. A gearbox may appear beside the motor when controlled rotation and torque matter. Pneumatic symbols may include a triangle or flow marking that follows the applicable drawing standard. Hydraulic symbols use related conventions, but line routing and nearby components reveal more. Never rely on one mark alone. Standards and company libraries are not always identical.
A practical check helps. Trace the path with a pencil. Does it lead to compressed air, hydraulic fluid, or electrical power? Then inspect labels, port names, and the drawing legend. I have seen technicians misread a fluid actuator because they focused only on the circle. That shortcut feels efficient, but it can cause a wrong valve or pressure assumption. Verify the symbol against the system context and equipment documentation before selecting a replacement.